Using the WYSIWYG Editor (with video)
How to use the TinyMCE (WYSIWYG) Editor:
You can use the WYSIWYG Editor in product descriptions, category descriptions, and in Cart Designer. In Cart Designer, it can be used in the header, footer and home page content of most themes. Similar to the tools in Microsoft Word, the WYSIWYG tool allows you to edit text, font, and add images and video. To learn more about WYSIWYG, see here.
Areas that use the WYSIWYG.
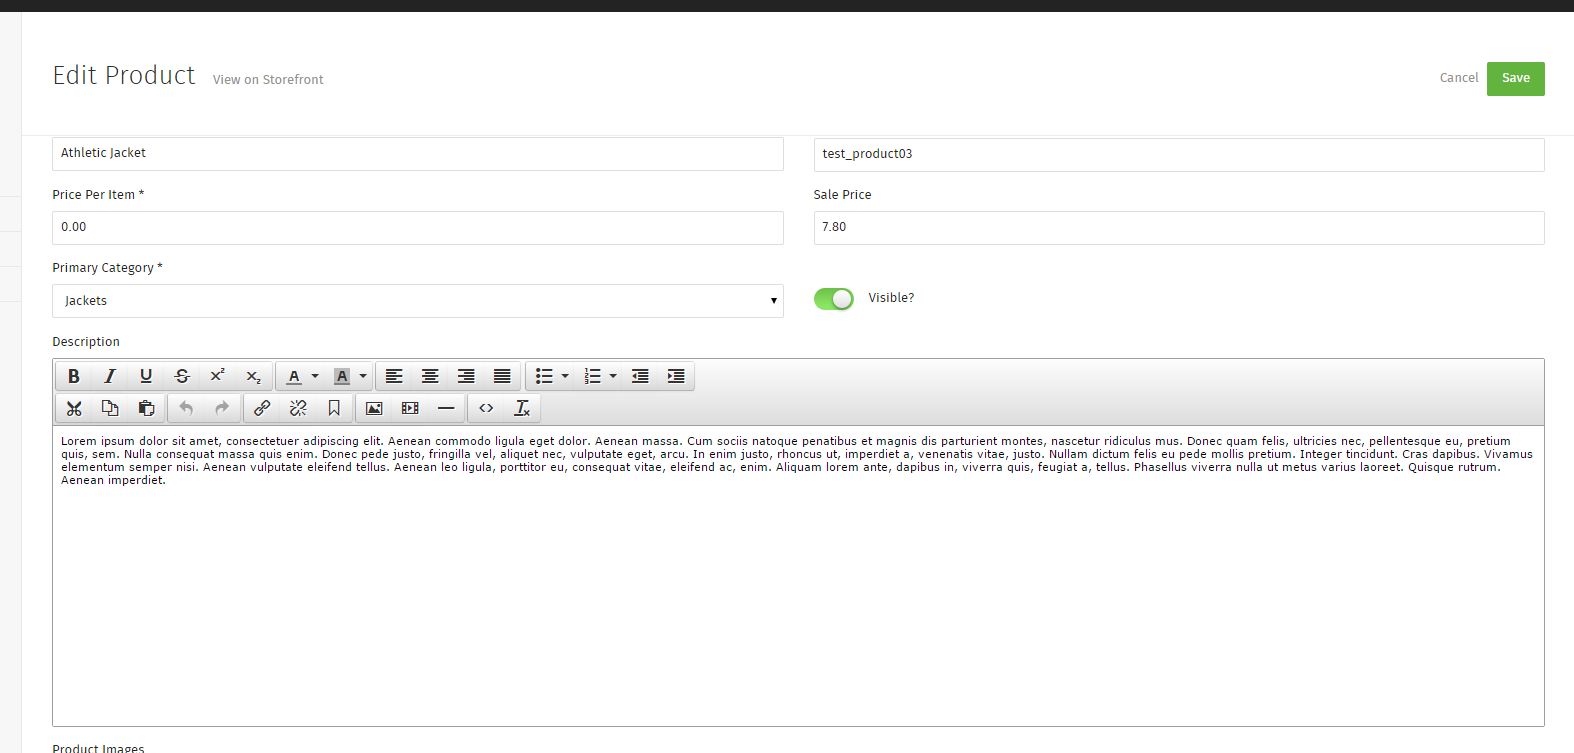
Product Descriptions – To add content to your product descriptions, go to Products on the left and either add a new product or edit an existing one.
Category Descriptions – To add content to your category descriptions, go to Products > Categories on the left and either add a new category or edit an existing one.
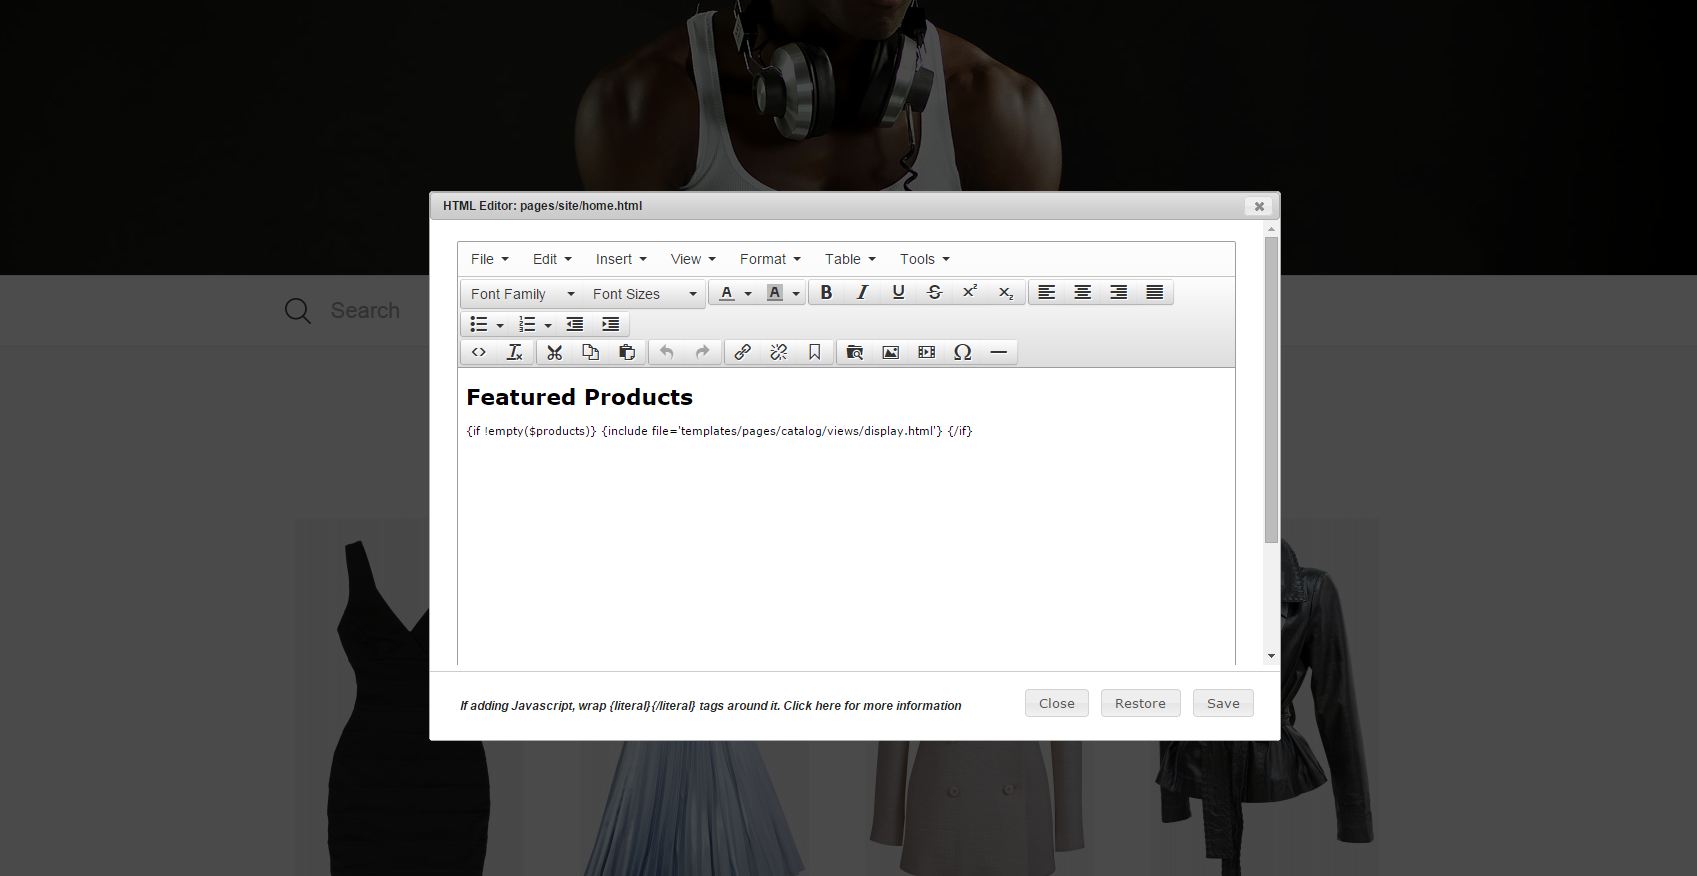
Cart Designer – In the Cart Designer tool, you can use a WYSIWYG Editor on the home page, and for most themes, the header and footer. Go to Design > Cart Designer. Once loaded, just right-click on the are you want to edit. If a WYSIWYG is available it will be one of the options you see when right-clicking.
Tools.
Note: The WYSIWYG in Cart Designer has a few more options than the one used on Product and Category descriptions. This includes the ability to change font size and style. For products and categories, font size and style should be controlled by CSS.
Font/Text - There multiple tools to control the font in the WYSIWYG. After typing out what you want to say, just highlight the font to make change to it. You can change the Font Family (style), Size, Color, and Background Color. You can also make it bold, italic, underlined, strike-through and add post scripts.
For paragraphs, you can make bulleted or numbered lists, align, and indent.
Editing – You can Undo, Redo, Copu, Cut and/or paste your text.
Source – This button will show you the raw html of what the WYSIWYG is doing. Advanced Users can use this to customized their HTML.
Links – To create a link, first type out the text you want the link to say, then highlight it and click the chain-link icon. This will bring up a dialog box ‘Insert Link’. In the URL field, you can put the full website address of where you want the link to go. Or, you can click on the browse button to have it go directly to a file or folder.

You can also break links you’ve added with the broken chain-link icon, and add anchors. Anchors are ares on the same page you want people to jump to.
Images/Video – To add an image or video, click the Image or Video icon.
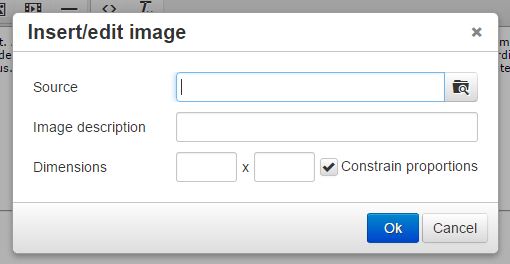
In the source field, you can input an external image URL, for example, one you find on Google. Or, click the Browse button on the right. This will open up the Moxie Manager file manager. Use this to upload images to your server.

You can upload the image from your computer anywhere you’d like, but most likely you will click into the Images folder. Once you’ve decided where to uploaded, click the Upload button at the top.
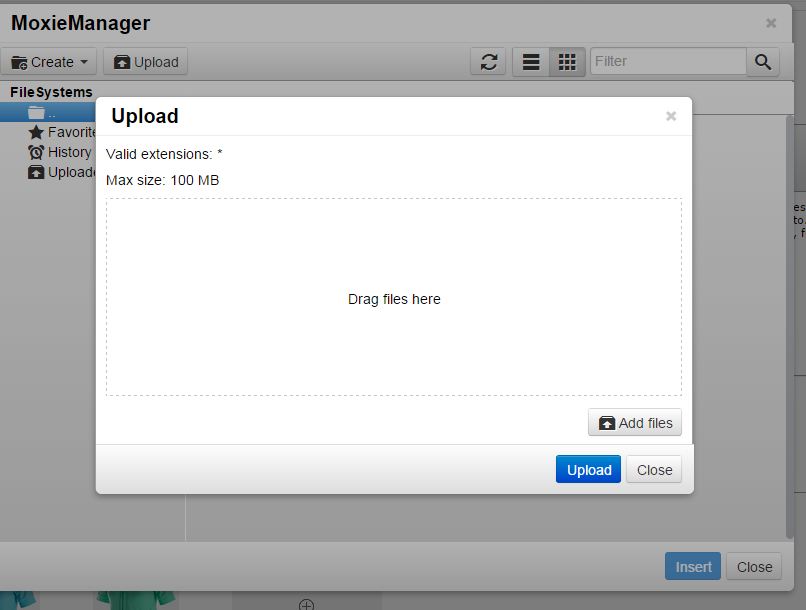
From here, either drag image files in or click the Add Files button. Clicking this button will open up your computer’s browser. Select the image you want to upload, then click the blue Upload button.
Finally, click Insert to push it into the WYSIWYG. Once the image is uploaded, you can click it to re-size or make it into a link.
It’s the same process above to add videos to your site.
Related: Adding a Product
Related: How to Design Your Site (with video)
If you didn’t get your question answered, please contact the Pinnacle Cart Support Team. To submit a ticket, go to the My Account drop-down menu at the top right of the admin area and select Support.
0
0