How to use your Advanced Settings
How to use your Advanced Settings:
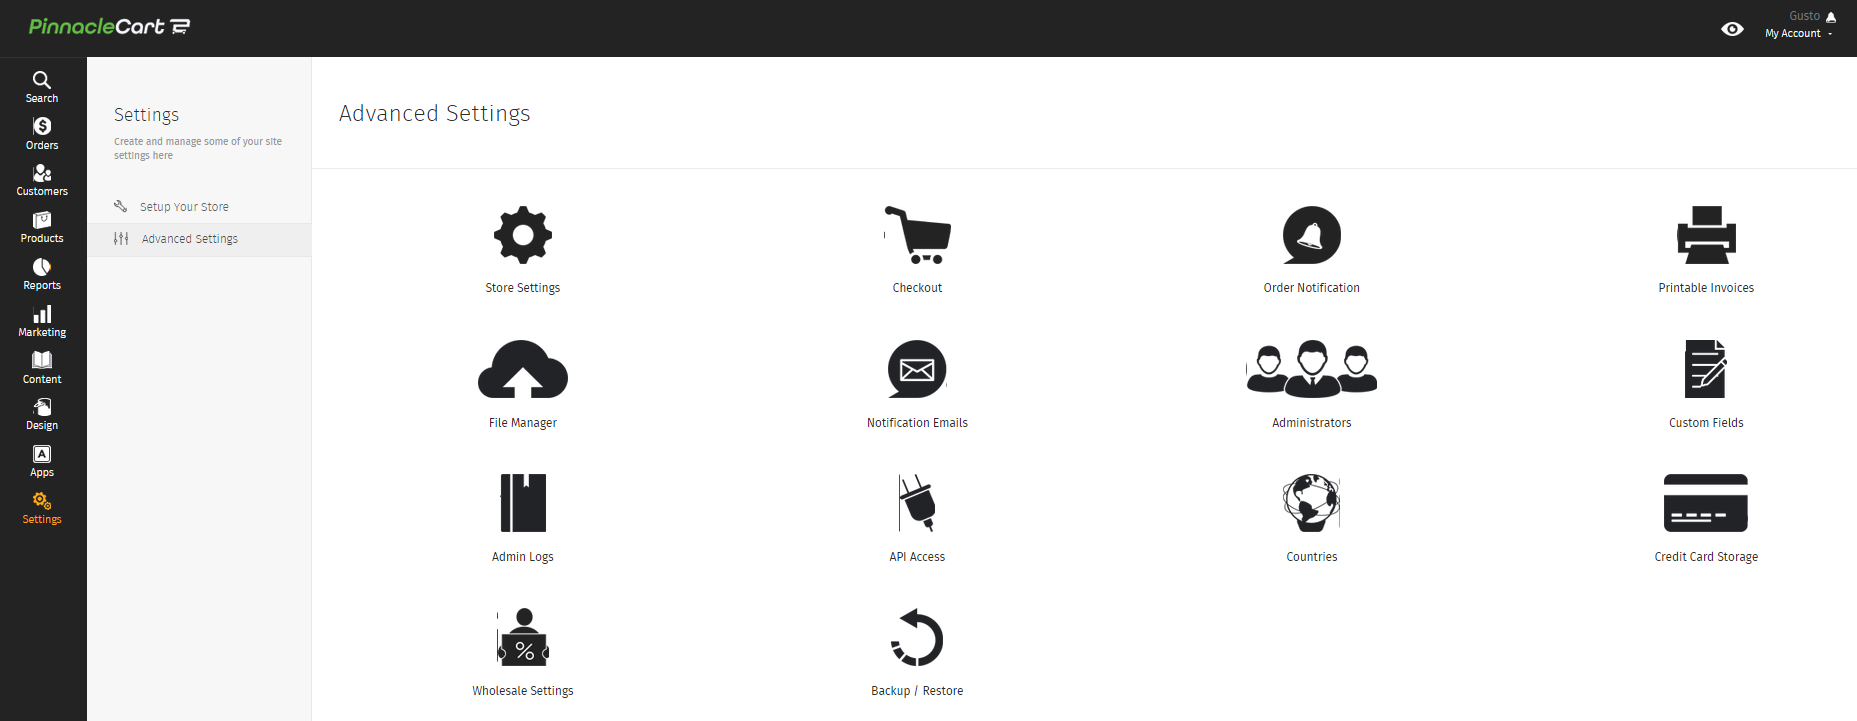
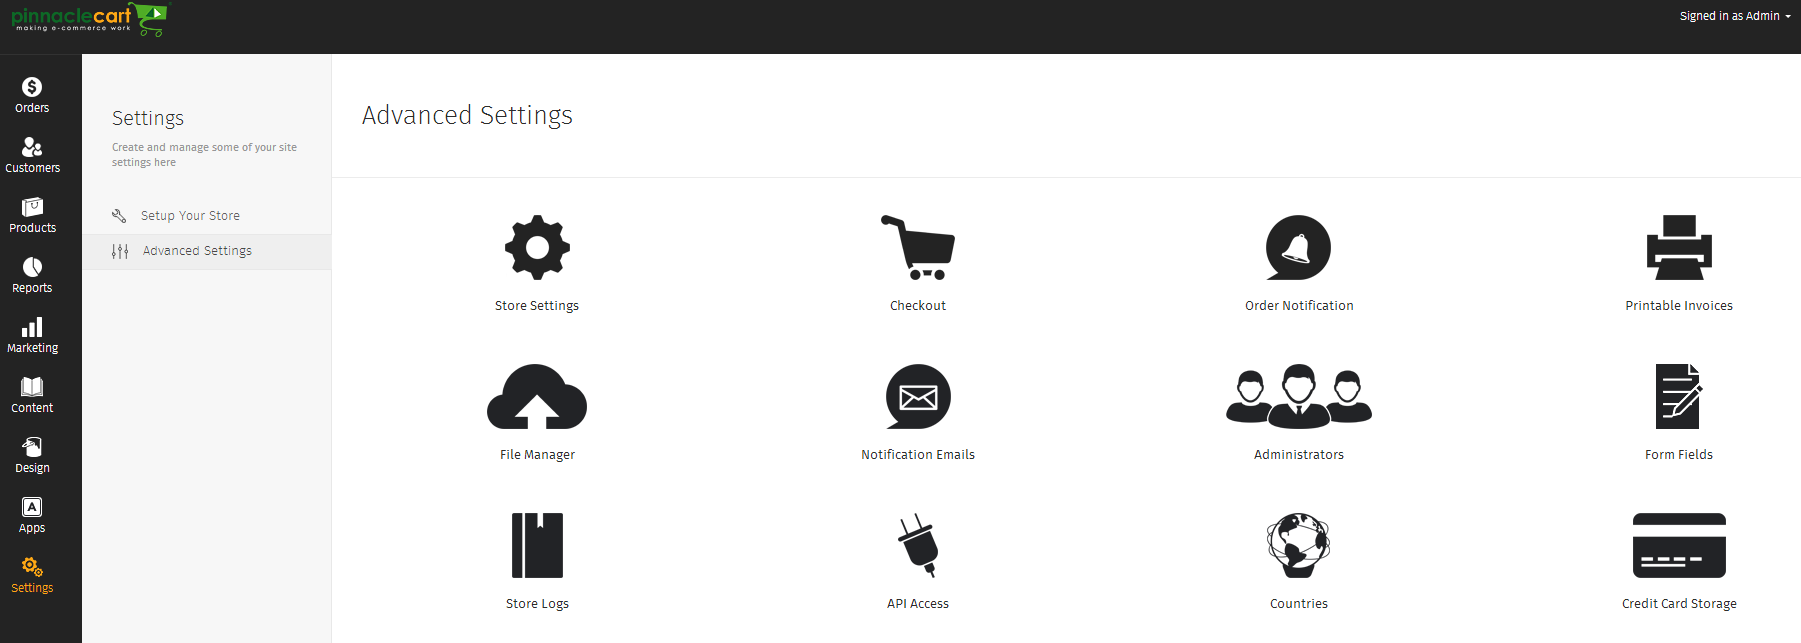
Log into your Admin, navigate to the following on the left hand side of your Admin: Settings>Advanced Settings. Once you’re there you will see multiple options to choose from, and in this article we’ll go through each one to help you understand.
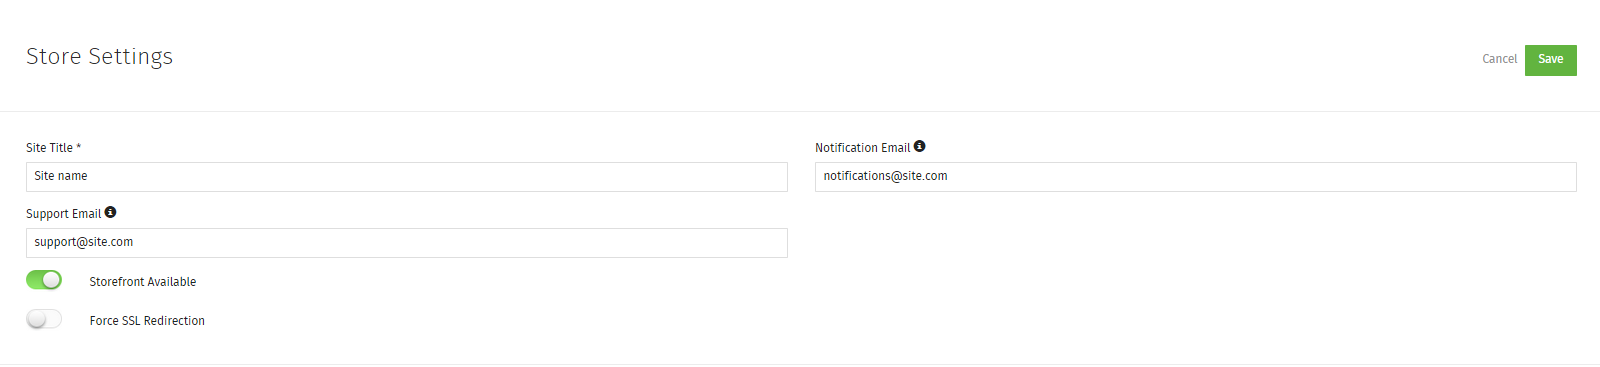
Store Settings – This is where you can setup your site name, notifications email for where you wanted to be notified when orders, registered users, etc are created. A Support@ email for customers to reach out to ask questions.
- Email Settings – Here you can designate your sites email settings, here is a break down of what each mean: \r = CR (Carriage Return) // Used as a new line character in Mac OS before X\n = LF (Line Feed) // Used as a new line character in Unix/Mac OS X\r\n = CR + LF // Used as a new line character in Windows

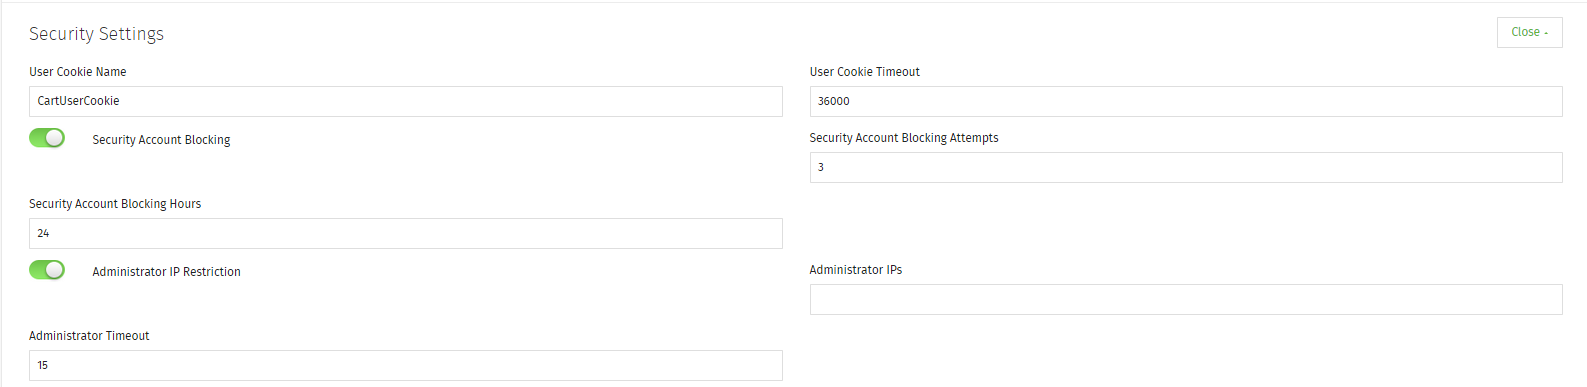
- Security Settings – You will be able to control the life of the cookie on the site and amount of attempts on login any user gets before being blocked from doing this again, also the time they’re locked out for

- Localization Setting – This is your date, time format, your currency and weight’s and measurement format for your region. Also you will be able to select the time zone you want listed for your cart so if you want orders to show CST you would set to a zone like America – Chicago. **Additional note*** this doesn’t control the time stamp on the server

- reCaptcha Public Key – If you decide you would like to use Captcha’s on the website this is where you would enter the required information to do so. To learn more about Captcha click here. A Captcha is:
-
a program or system intended to distinguish human from machine input, typically as a way of thwarting spam and automated extraction of data from websites.
-


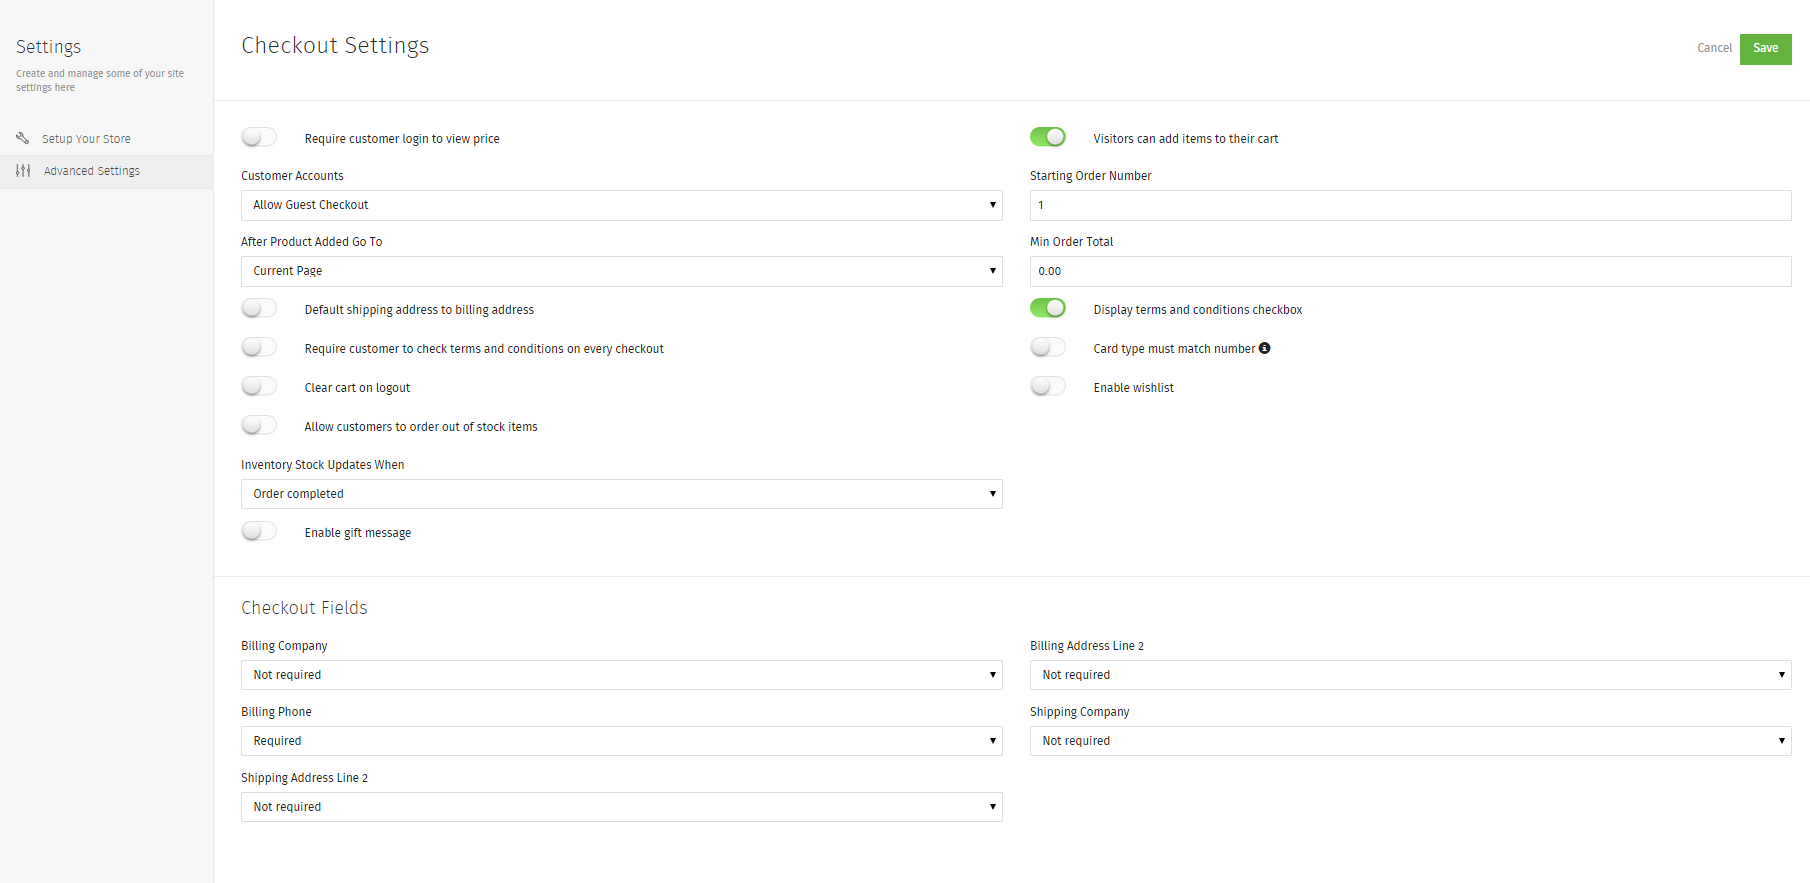
Checkout Settings – Here you can control how a customer shopping experience is setup. You can control if they need to register to view products or prices, or even to just checkout. This will also allow you to control min/max to place an order, also what fields are required on the checkout page when placing an order.
Order Notifications – This is where you would setup the emails to your drop shippers, these emails will automatically be sent to a drop shipper once their product has been order. You will have to assign the drop shipper to the product as well for this to work. This can be done at the product level under Advanced.

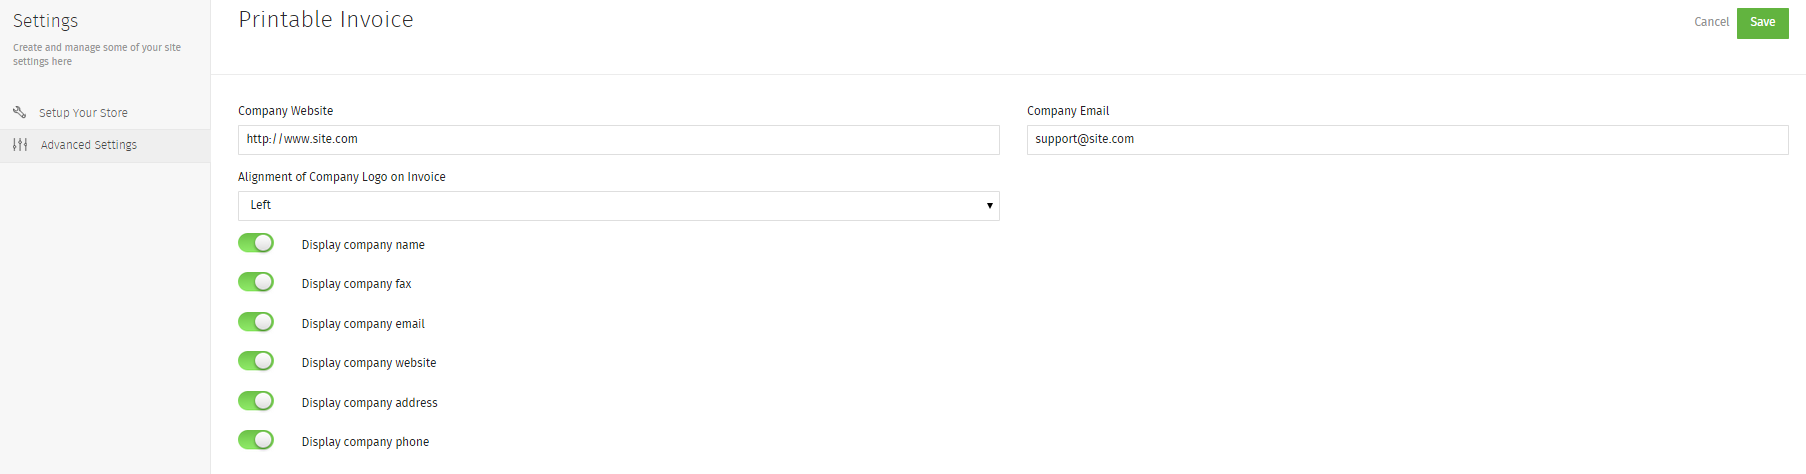
Printable Invoices – Here you can setup what will be seen on each invoice that is printed, you can remove bits of information you wouldn’t like others outside your company to see.
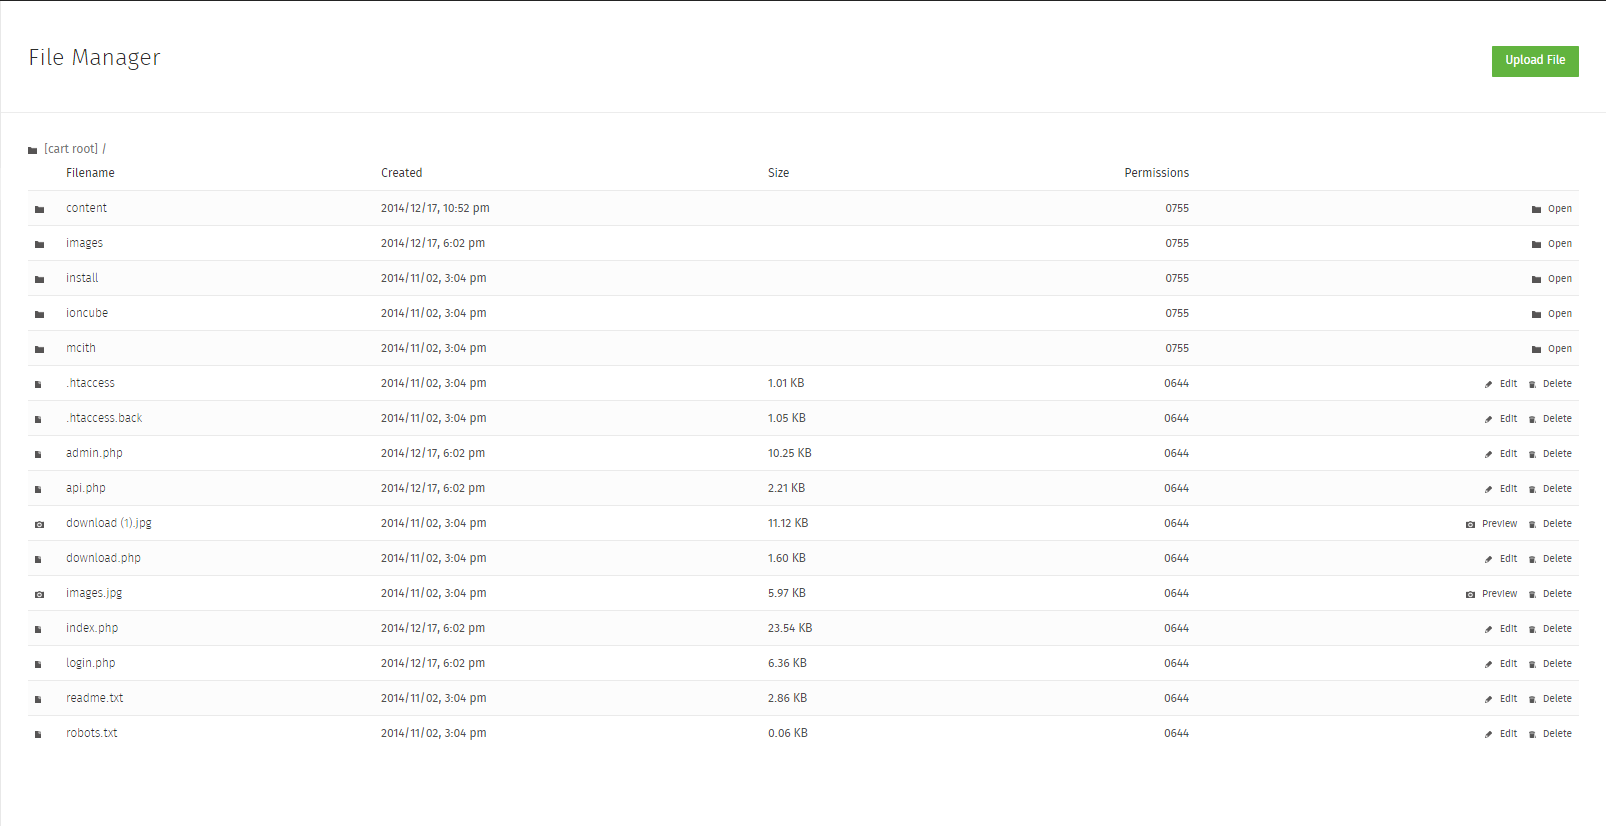
File Manager – From the file manager you can upload single files or make changes to files that are already there. You will be able to navigate through and able to find everything that you have in your cart as far as design, and setup.
Notification Emails – These emails will help you keep track of what you want to see come through to you or the customer or what you don’t. For example if a new customer registers on your site, you wouldn’t like to see this especially if it’s a high volume site, or maybe you do for data purposes to see what kind of numbers and interests your site is getting.
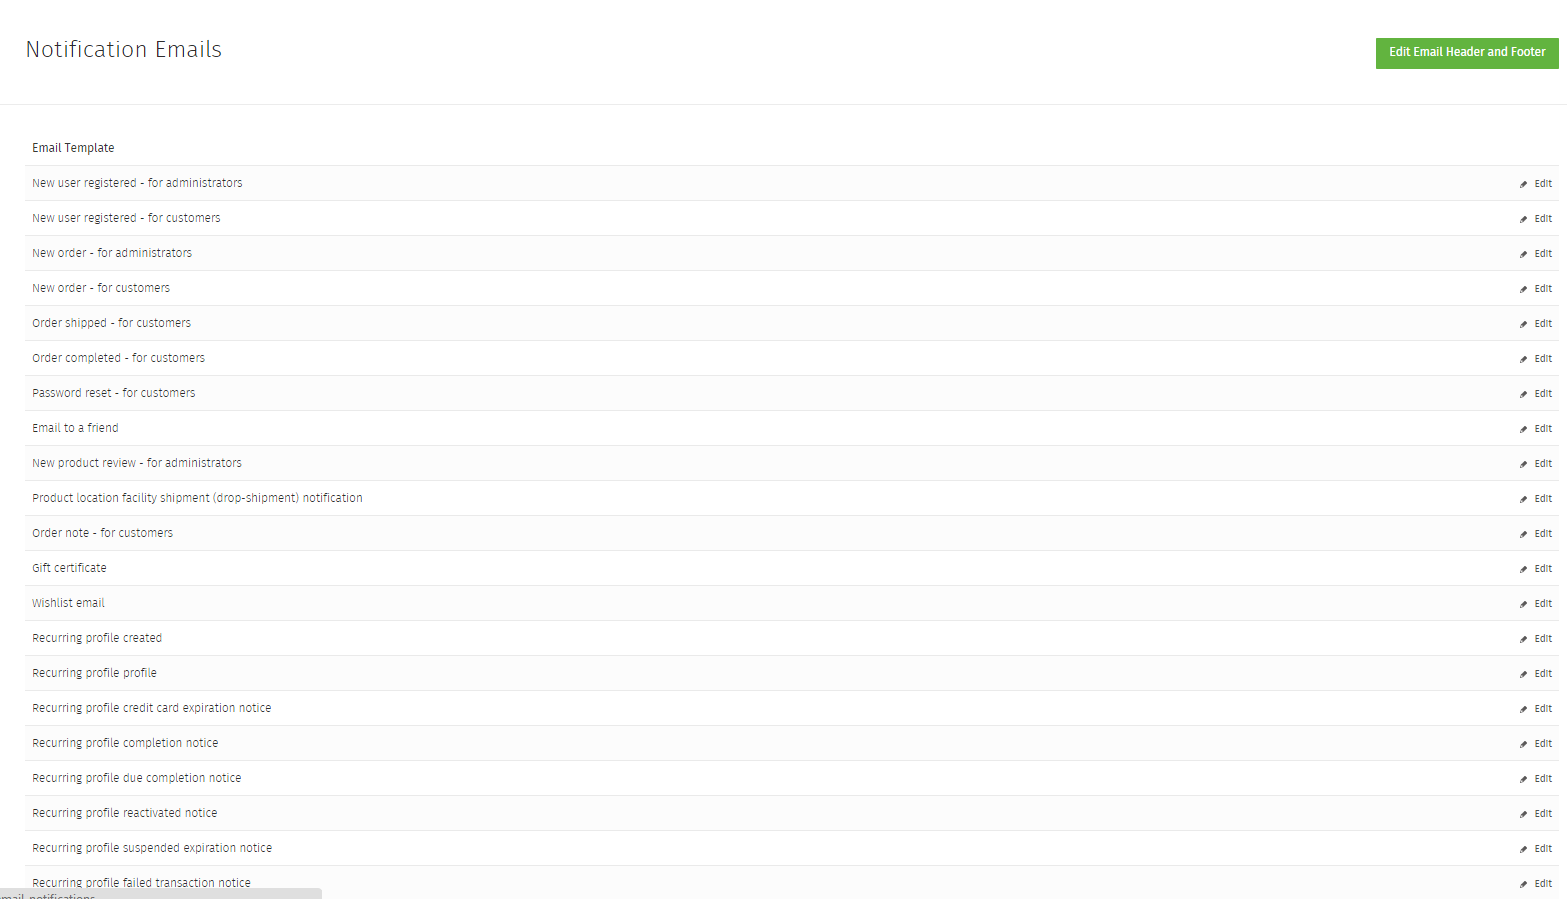
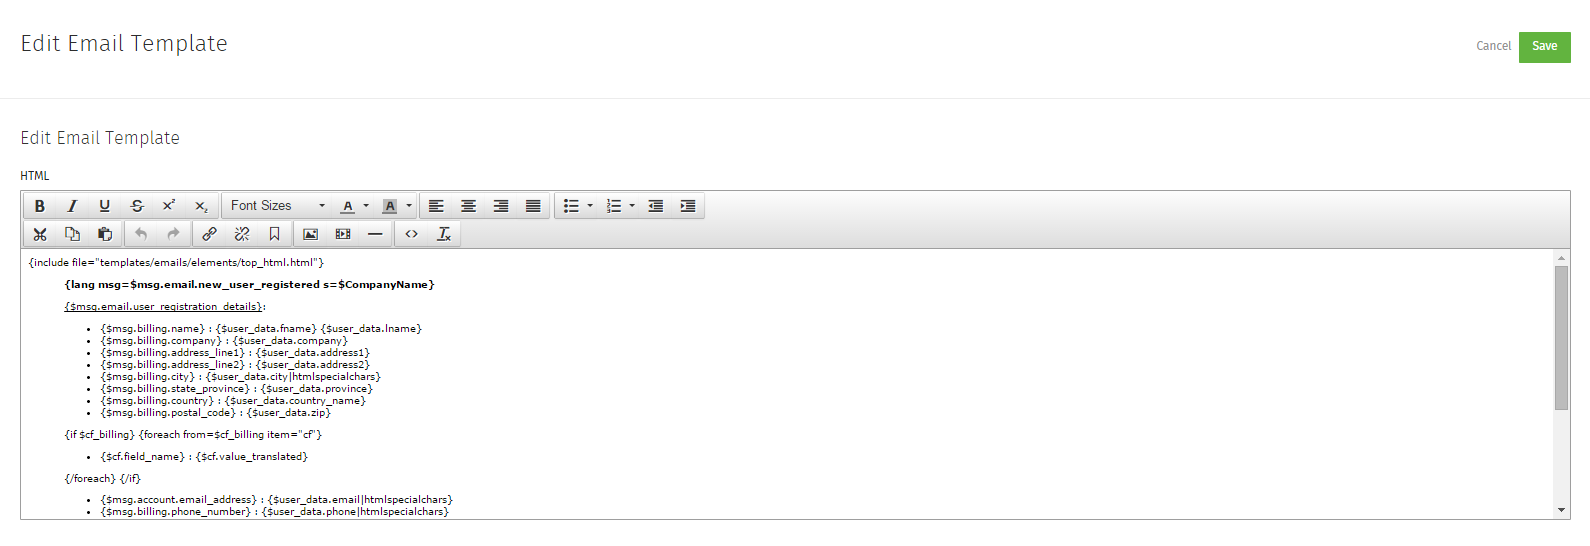
You can also edit what these emails say from here, and how the email will look when it’s presented to the customer:
Administrators – From here you will be able to manage your administrators (not to be confused with your current profile that you’re currently logged into, which can be managed in the upper right hand corner of the Admin) and change any privileges, passwords, user names, notification updates, etc.

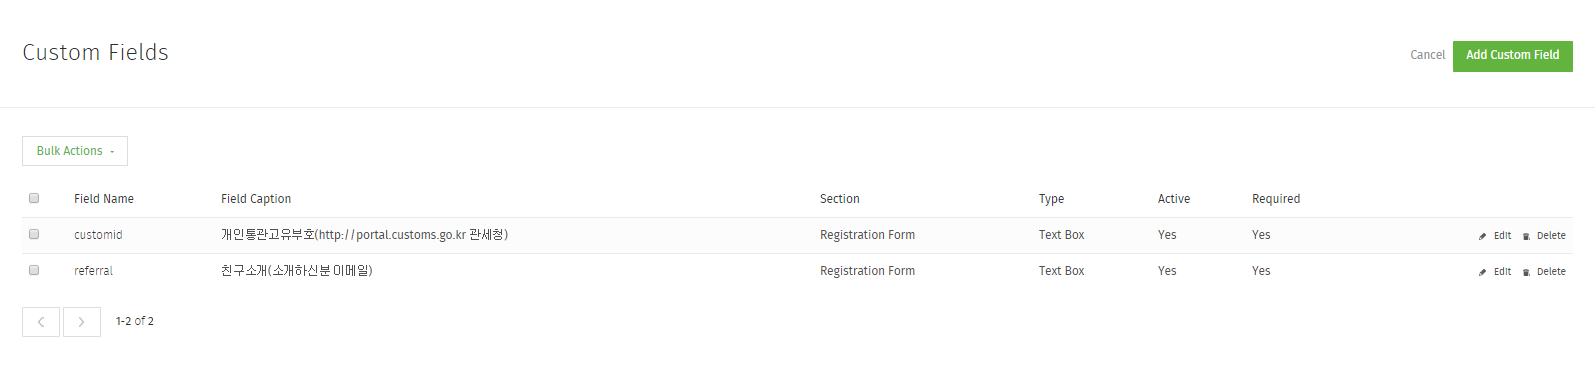
Custom Fields – Here you will be able to add custom fields or text boxes to registration or billing and shipping information that you require your customer to fill out. You will not be able to add custom fields to products or pages, that is something will need to be customized into your cart.
Admin Logs – Anytime a Admin logs into your cart, you can see what IP address, where they were and what they’ve changed in your cart, anytime you have questions on why something was changed you will want to refer to this portion of the Admin.
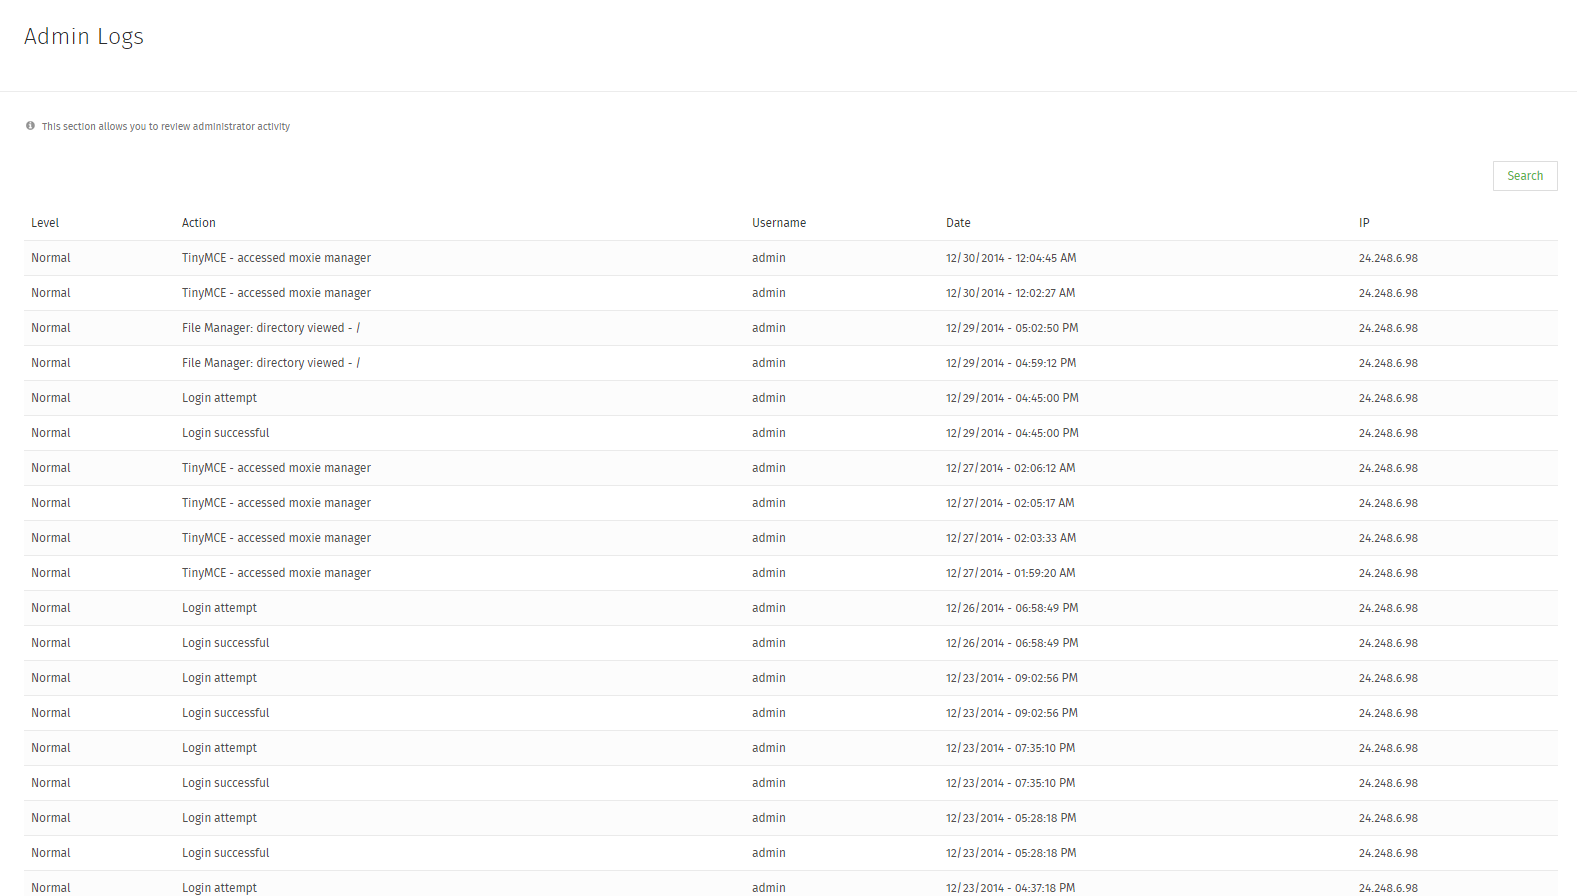
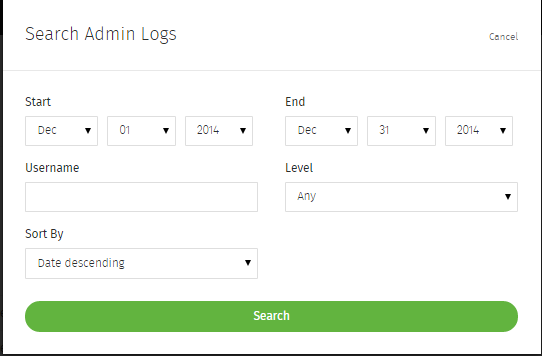
If a time or date isn’t listed you can also do an advanced search.
API Access – Anytime a company you’re trying to use or integrate with your cart is requesting API Access you will input that information here. The only time you shouldn’t need to add any API Information here is for Real Time Shippers as that will be done in the shipping portion of the cart.
Countries – Anytime you want to edit, delete or add a country or code for shipping and checkout, you will do it from here. You can edit States, Provinces as well.
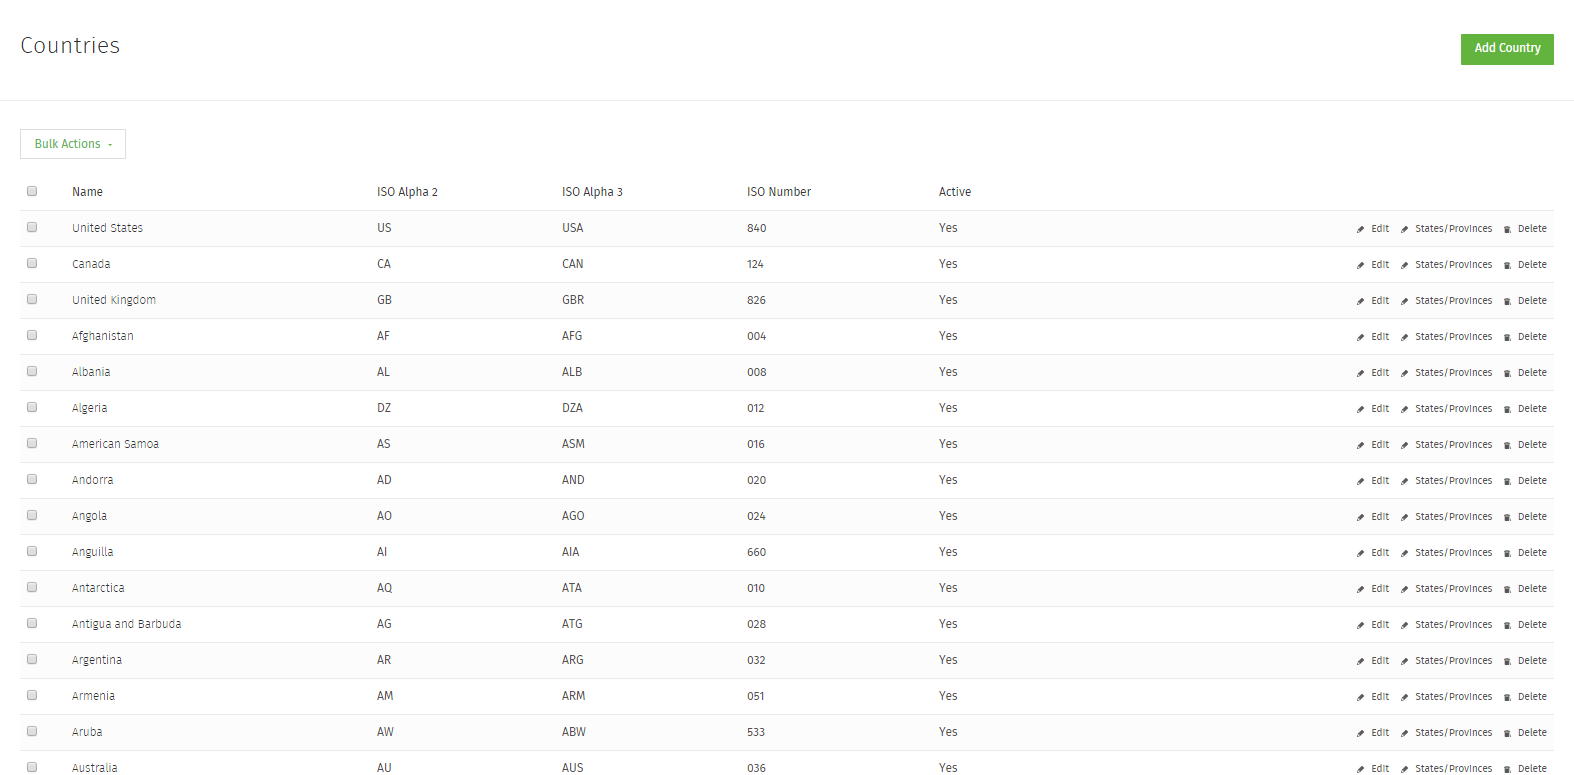
Also every country has ISO codes it uses for Real Time Shipping, to see a complete list click here.
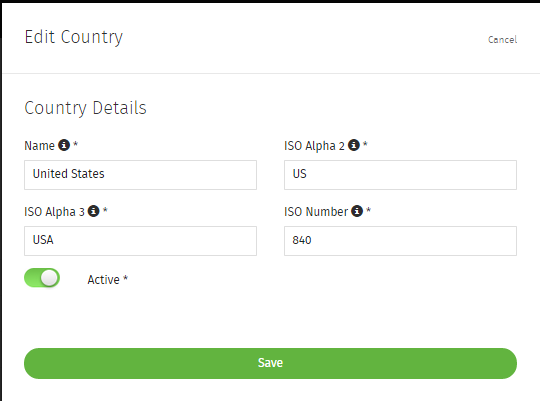
You can edit or update each country by clicking editing on the right hand side of the screen, this is what the screen will look like when you click that:
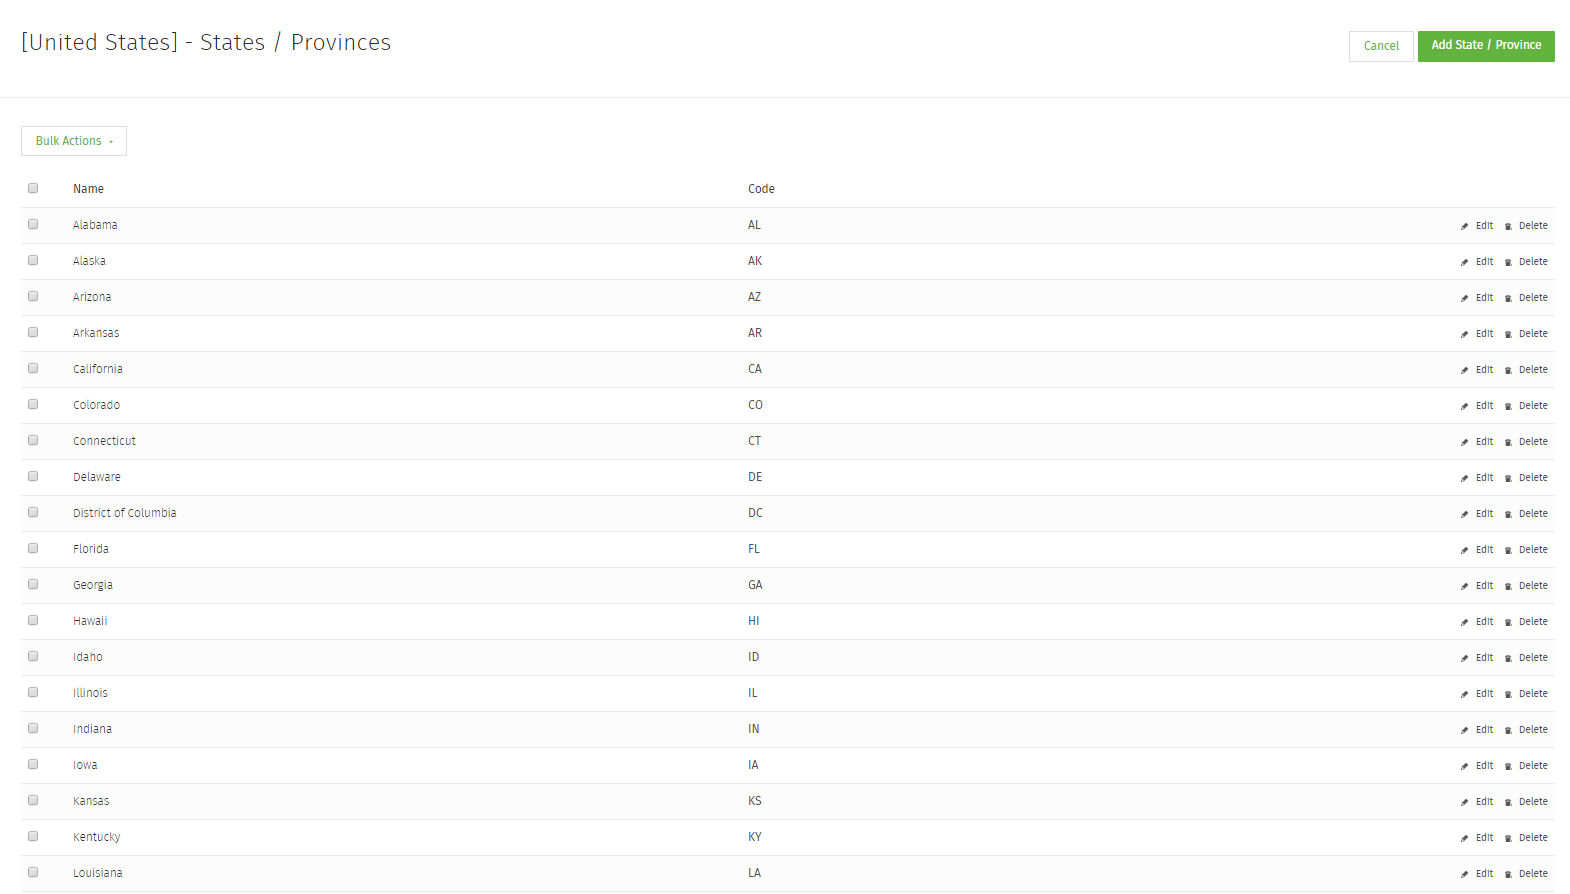
Here is what it will look like when you click on States and Provinces:
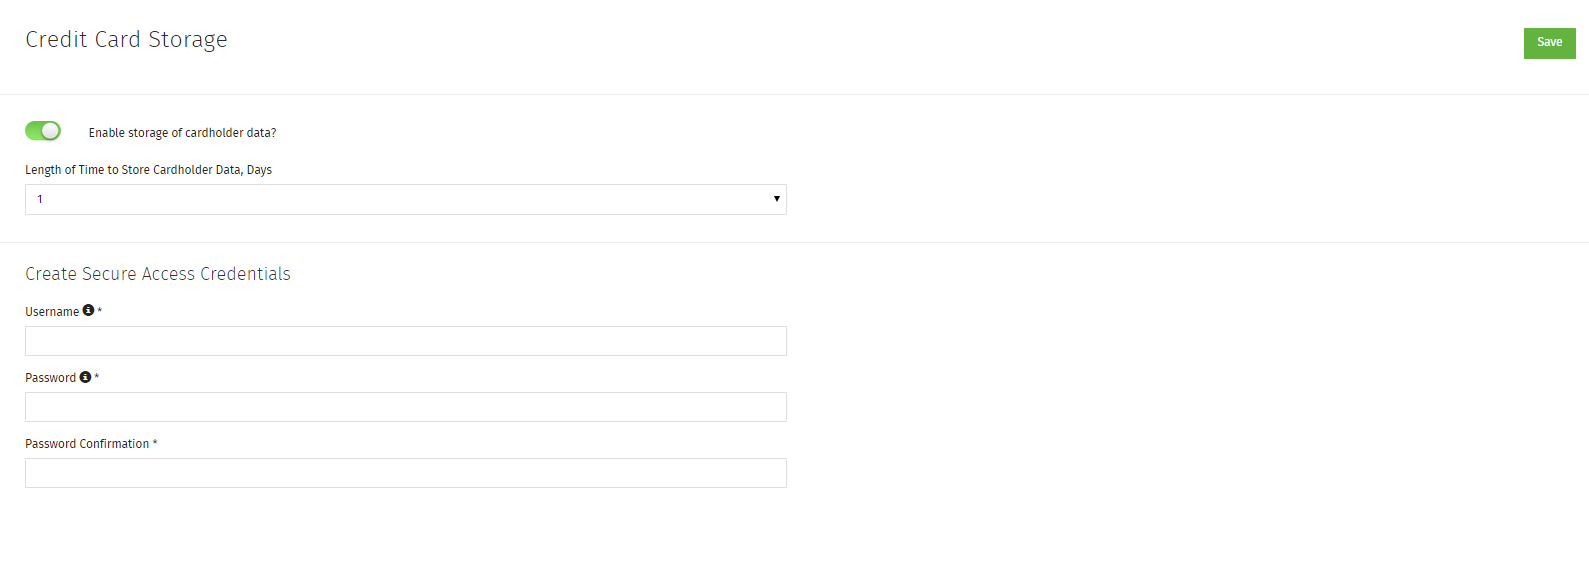
Credit Card Storage – Anytime you want to turn on Credit Card Storage and use an external system for accepting customer payments, you can use this. For this you will want to remember the username and password, if you don’t and can’t get in there is no way we can reset these for you with out losing the information that is currently stored there.
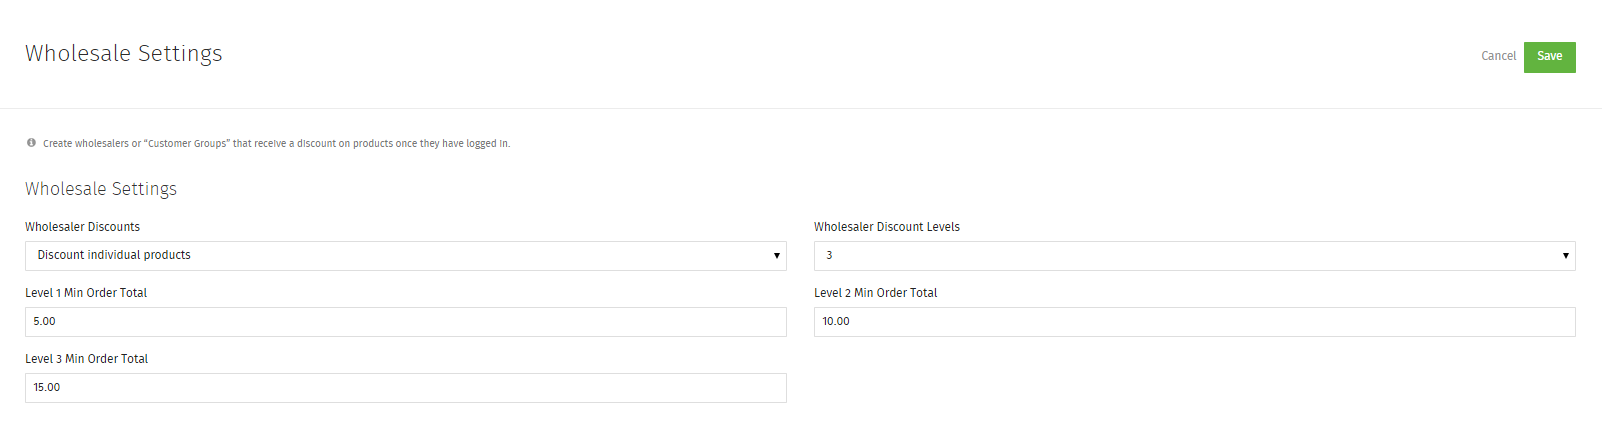
Wholesale Settings – Here you will be able to setup the discounts for your wholesalers. The levels and the discounts for each one.
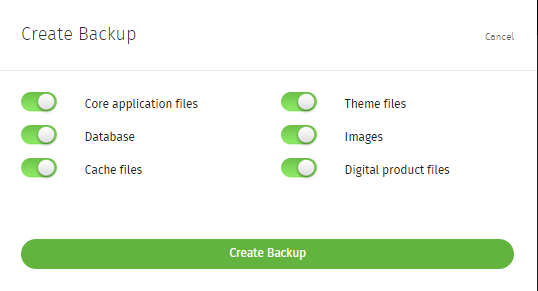
Backup and Restore – Here you will want to use this section anytime you make changes on your site, say if you update all your products and you want to change something in the designer. You will want to create a backup first before making any changes you can’t un-do yourself.

You typically don’t want to do all the options together if you have a lot of information on your site, you will want to break this down into sections; Database by itself, and then 3 more backups with what is left. Or do images by itself if you have a mass quantity of images.
If you have anymore questions about the functionality of the Advanced Settings, please give us a call to assist you!
Link to related article
Link to related article
If you didn’t get your question answered, please contact the Pinnacle Cart Support Team. To submit a ticket, go to the My Account drop-down menu at the top right of the admin area and select Support.
0
0